Sweet Bread: A Nostalgic Treat Worth Baking
There’s something undeniably magical about sweet bread. The alluring aroma of freshly baked dough wafting through your home can evoke memories of childhood, warm family gatherings, and cozy afternoons spent indulging in delightful treats. This sweet bread recipe is not only quick to whip up but also brings a sweet nostalgia that will have your taste buds dancing with joy. Perfect for breakfast, snacks, or dessert, this treat is kid-friendly and sure to please even the pickiest of eaters.
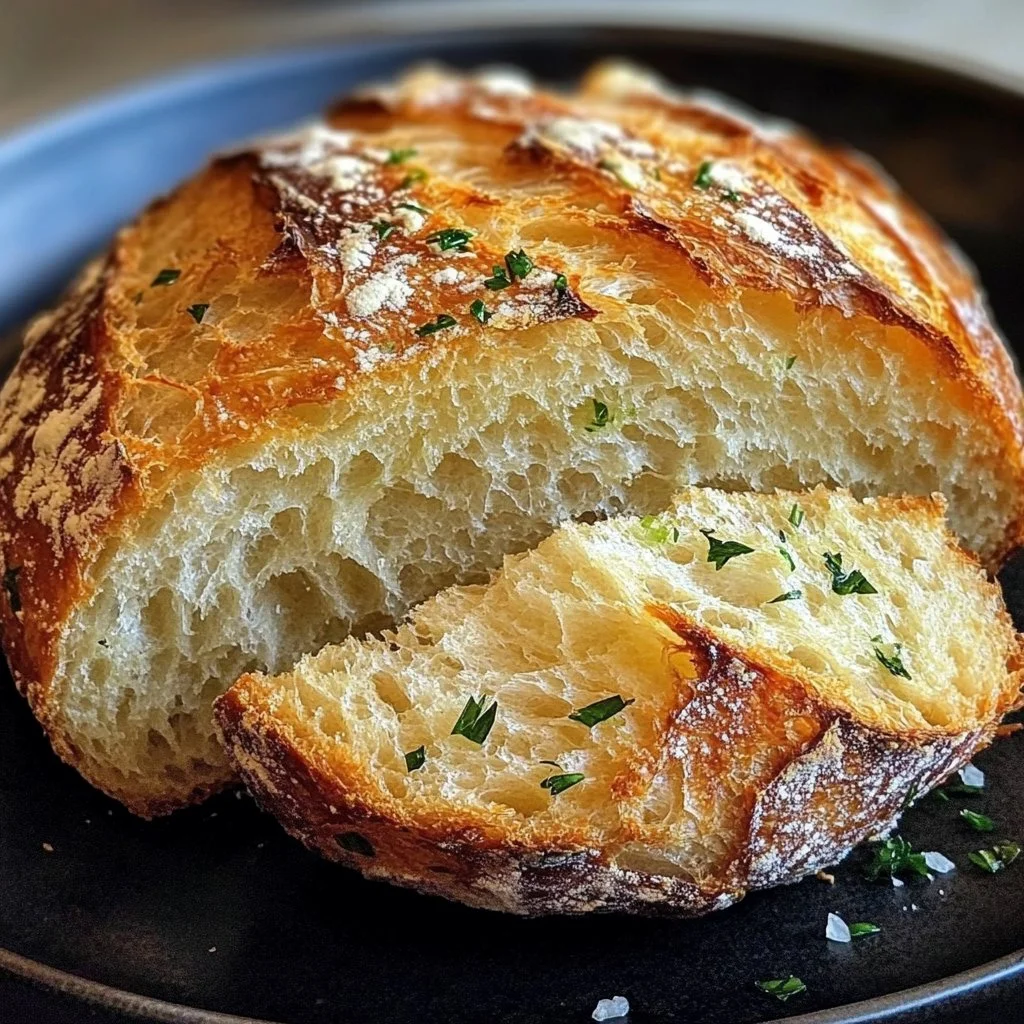
Imagine pulling a golden loaf from the oven, the soft, pillowy texture promising gooey sweetness beneath a whisper of crust. The first slice reveals the tender, feathery crumb, each bite melting in your mouth and leaving you craving just one more piece. What better way to treat yourself and your loved ones than with a comforting loaf of sweet bread that’s easy to prepare?
Are You Ready to Indulge a Little?
Have you ever craved the sweet taste of homemade bread days after you’ve had it? Have you found yourself daydreaming about the warm, buttery goodness cooling on the kitchen counter?
This sweet bread recipe caters to those delightful cravings, and it invites you to turn back time, basking in the simple pleasure of baking.
Why You’ll Love This Recipe
One of the best things about sweet bread is how easy it is to make! In just a few simple steps, you can create a deliciously fluffy loaf that everyone will adore. It requires minimal ingredients and is incredibly versatile, making it a crowd-pleaser at any gathering.
With its delightful sweetness and melt-in-your-mouth texture, this sweet bread transcends age. From children to grandparents, it unites family over a shared love for simple yet indulgent food.
Ingredients That Create Magic
To craft this enchanting sweet bread, you’ll need the following ingredients:
-
Milk at room temperature: This adds creaminess and fosters yeast activation for perfect rising.
-
Sweetened condensed milk: This sticky, syrupy addition enhances richness and sweetness.
-
Instant yeast: The power behind the rise, bringing a lightness that will envelop your senses.
-
All-purpose flour: The foundation of your tender loaf, offering structure without overpowering flavor.
-
Butter: This golden, melty goodness adds depth and richness, elevating the overall taste.
-
Egg: Binding everything together, eggs provide moisture and create that beautiful golden hue.
-
Salt: A vital player that balances sweet flavors, enhancing the overall taste profile.
Timing: Fast and Indulgent
While this sweet bread sounds like a time-consuming creation, it’s surprisingly quick and easy to make. With minimal downtime and the hands-on preparation taking less than an hour, you can go from ingredients to indulgence in under two hours. The slight waiting period for rising gives you enough time to anticipate the divine sweet scent soon to fill your home.
While not an all-day project, the dough’s gentle resting allows the flavors to develop, delivering rich results that will make each bite utterly unforgettable.
Step-by-Step to Sweetness
-
Mix the wet ingredients: Take a large bowl and combine room temperature milk, sweetened condensed milk, egg, sugar, and yeast. Whisk this heavenly mixture until it’s completely integrated.
-
Add dry ingredients: Gradually fold in the flour and salt, mixing until a shaggy dough forms. Toss in small pieces of softened butter and continue mixing until fully incorporated.
-
Develop the gluten: Transfer this sumptuous dough onto a lightly floured surface. Knead vigorously for 8 to 10 minutes, and watch as your dough transforms into a beautiful, elastic texture.
-
First rise: Shape the kneaded dough into a smooth ball and place it in an oiled bowl. Cover it, allowing it to rise in a warm spot for approximately 1 hour or until it doubles in size.
-
Shape the loaves: Gently punch down the risen dough to release the air. Divide it into two equal portions, rolling each into a rectangle before rolling tightly into logs, sealing the seams to retain that sweetness.
-
Create pull-apart sections: Slice each log into seven equal pieces. Arrange these delectable bites in parchment-lined loaf pans, cut sides facing the ends to create a pull-apart style.
-
Second rise: Cover the loaf pans and allow the dough to rise again for 45 minutes, giving it a second chance to puff up and become fluffy.
-
Bake to golden perfection: Preheat your oven to 350°F (175°C). Brush the tops of the loaves with an egg wash before baking for 20 to 22 minutes, allowing the aroma to envelope your kitchen.
-
Apply the sweet butter glaze: While the bread is still warm, mix softened butter and sweetened condensed milk. Brush it generously over the tops of the loaves to create a shiny, lustrous finish.
-
Storage tips: This sweet bread can be stored in an airtight container at room temperature for up to 3 days. For longer freshness, wrap it tightly in plastic and freeze for up to 3 months. Feel free to experiment with variations like adding citrus zest, cinnamon sugar, mini chocolate chips, or warm spices for an extra flavor kick!
Nutritional Information: A Sweet Treat
Each slice of sweet bread is an indulgence, delighting both the senses and the soul. A typical serving may contain around 200-250 calories, depending on the recipe variations you choose to explore. Remember, while this treat is a calorie-friendly dessert, moderation is key. Embarking on such a delightful baking journey is bound to fill you with happiness!
Healthier Alternatives: Lighten Up the Sweetness
If you’re looking for a slightly lighter version of this sweet bread, consider making a few substitutions. You can swap out regular sweetened condensed milk for a low-sugar alternative. Dairy-free options can include almond milk or oat milk, and coconut butter can replace regular butter, allowing those with dietary restrictions to partake in this delightful creation.
Serving Suggestions: Making Moments Special
This sweet bread is incredibly versatile and can be enjoyed in various ways! Serve it warm with a scoop of vanilla ice cream for a comforting dessert. It also makes a delightful addition to holiday brunches or as part of a cozy family gathering, creating memorable moments filled with laughter and joy.
Common Mistakes to Avoid
To ensure your sweet bread turns out perfectly each time, be mindful of these common missteps:
-
Overbaking: Keep an eye on your bread to avoid a dry texture. It should be golden-brown but still soft when you pull it from the oven.
-
Texture issues: If your dough doesn’t rise properly, it could be due to outdated yeast or improper mixing. Always check the freshness of your yeast and ensure all ingredients are well incorporated.
-
Messes: Create a clean workspace by using flour sparingly! This way, you can focus on the dough without creating unnecessary chaos.
Storing Tips: Keep the Sweetness Alive
To keep your sweet bread fresh, store portions in an airtight container at room temperature for up to 3 days. If you plan on saving portions, freeze individual slices wrapped in plastic wrap. When you’re ready to enjoy, simply reheat in the microwave or toast lightly to restore its delightful warmth.
Tempting You to Bake It ASAP
This sweet bread recipe is calling your name! It blends warmth and nostalgia into every fluffy bite. With the ease of preparation and versatility, there’s no reason to wait any longer! Gather your ingredients and allow your kitchen to fill with the tantalizing aroma of freshly baked sweetness. A loaf destined to sweep you and your loved ones off your feet awaits!
FAQs
-
Can I make this sweet bread ahead of time?
Absolutely! Prepare the dough and store it in the refrigerator for up to 24 hours before baking. -
What can I add to enhance the flavor?
Consider stirring in cinnamon, vanilla extract, or even chocolate chips for an extra twist. -
Can I use whole wheat flour instead of all-purpose flour?
Yes, using whole wheat flour is possible, but the texture may vary slightly. Combine it with all-purpose flour for the best results. -
How can I tell if the bread is done baking?
The bread should be golden brown and sound hollow when tapped on the bottom. An instant-read thermometer should read about 190°F in the center. -
Is the sweet bread gluten-free?
You can make a gluten-free version by using gluten-free flour, but be mindful of the overall texture and rising times, which may differ.
This sweet bread becomes more than just a dessert; it turns into a cherished experience every time you bake. Whether it’s for yourself or shared with loved ones, the journey of creating this delightful treat is as heartwarming as the flavors it presents. Get ready to fall in love with every slice!
Print
Sweet Bread
- Total Time: 120 minutes
- Yield: 14 servings 1x
- Diet: Vegetarian
Description
A nostalgic sweet bread that’s easy to whip up, perfect for breakfast, snacks, or dessert.
Ingredients
- 1 cup milk, room temperature
- 1/2 cup sweetened condensed milk
- 2 1/4 teaspoons instant yeast
- 3 cups all-purpose flour
- 1/4 cup butter, softened
- 1 egg
- 1 teaspoon salt
Instructions
- Mix the wet ingredients: In a large bowl, combine milk, sweetened condensed milk, egg, sugar, and yeast. Whisk until fully integrated.
- Add dry ingredients: Gradually fold in the flour and salt until a shaggy dough forms. Add pieces of softened butter and mix until incorporated.
- Develop gluten: Transfer the dough to a floured surface and knead for 8 to 10 minutes until elastic.
- First rise: Shape into a ball, place in an oiled bowl, cover, and let rise for 1 hour or until doubled.
- Shape loaves: Punch down the dough, divide into two, roll into rectangles, and shape into logs.
- Create pull-apart sections: Slice each log into seven pieces and arrange in loaf pans with cut sides facing out.
- Second rise: Cover and allow to rise for 45 minutes.
- Bake: Preheat oven to 350°F (175°C), brush loaves with egg wash, and bake for 20 to 22 minutes.
- Apply glaze: Brush loaves with a mixture of softened butter and sweetened condensed milk while warm.
Notes
Store in an airtight container at room temperature for up to 3 days, or freeze for up to 3 months. Variations can include adding citrus zest, cinnamon sugar, or mini chocolate chips.
- Prep Time: 30 minutes
- Cook Time: 22 minutes
- Category: Dessert
- Method: Baking
- Cuisine: American
Nutrition
- Serving Size: 1 slice
- Calories: 250
- Sugar: 8g
- Sodium: 200mg
- Fat: 10g
- Saturated Fat: 5g
- Unsaturated Fat: 3g
- Trans Fat: 0g
- Carbohydrates: 36g
- Fiber: 1g
- Protein: 6g
- Cholesterol: 30mg